We recently received a step-by-step photo guide from Scott Jones (Modelflight and TLR Team driver) as he built his TLR 22 Buggy. Scott is entering this RC car into the upcoming Nationals in Mildura (2WD 1/10th Modified Class). In this blog post, we will provide you with some of the highlights of this guide, along with Scott's commentary. If you are a fan of Modelflight's Facebook page, you also have access to Scott's full album of TLR 22 Buggy photos.
Servo
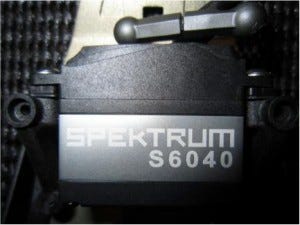
To begin with, Scott used the Spektrum S6040 servo. This servo weighs 52 grams and offers 12kg-cm of torque (167 oz-in) at 6V. Its speed is 0.08 sec/60 deg, also at 6V.
The Front End
Scott provided us with a tuning tip for the front end of the TLR 22 Buggy. Instead of the standard 20 deg shim, he used TLR's 25 deg brass kick angle shim. In Scott's words, "this shim was used to put more weight over the front of the car".
He also added TLR's aluminium front pivot plate to increase this weight and add further strength in the front end.
For this build, Scott used Team Losi Racing's 5 deg caster blocks. He said that while the kit comes with the standard 10 deg blocks, his team had found that "during races, the 5 deg caster blocks make the steering on the car more consistent for Australian conditions".
Additionally, Scott included TLR's 4mm Aluminium Trailing Spindles, which gave the car further strength in the front and smoother steering overall.
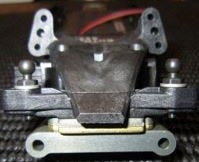
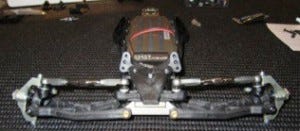
In the image below, you can see the front end assembly completed.
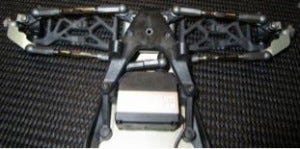
The Rear
For the back of the RC car, Scott used Team Losi Racing's aluminium rear hubs. He describes how these 0 degree hubs provided strength to the rear end and ball stud. Scott also added TLR's 0.75mm aluminium rear hex. This gives the TLR 22 Buggy a wider track and more stability.
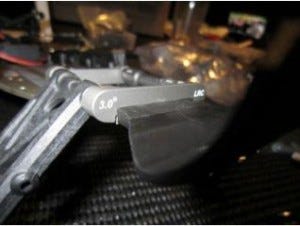
Scott included Team Losi Racing's 3 Degree rear LRC pivot, which he said has proven to be better on Australian tracks than the standard 4 degree pivot that came with the kit. According to Scott, this pivot "gives the car less toe in and provides more rear traction".
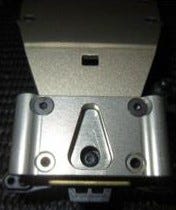
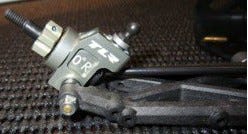
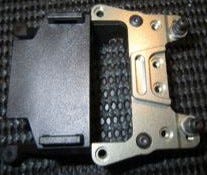
Strengthening this RC car, Scott added TLR's Rear Camber Block (see image to the right) .This aluminium camber block also stops the ball stud stripping out of place in the event of a solid crash. "This also provides more weight over the rear of the car", Scott describes. He also suggested using Loctite and aluminium washers on the ball studs.
Power
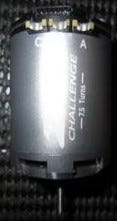
To power the TLR 22 Buggy, Scott equipped it with the Dualsky Z5 7.5-Turn Performance Brushless Motor and the Dualsky XC870TF ESC.
You can see a photo of this ESC in Scott's buggy below. Scott said that "the footprint of the Dualsky XC870TF fits perfectly in the TLR 22 Buggy and has great cooling."
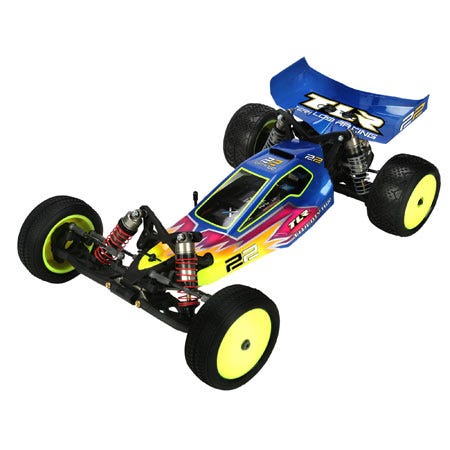
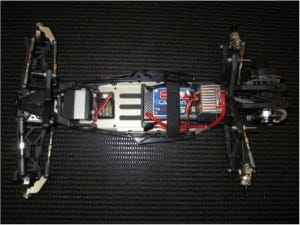
In the final image below, you will see the TLR 22 Buggy with Scott's complete set-up.
As you can see, it's impressive construction. Thank you to Scott for taking the time photograph and to talk us through this process. Remember, you can visit our Facebook page to see Scott's complete album of TLR 22 Buggy photos. Stay tuned to our blog for further updates about the Mildura Nationals and other exciting news from Modelflight.